


However, it’s essential to know how to clean porcelain stoneware correctly in order to conserve its beauty and durability over time: this small guide will tell you how to clean porcelain stoneware effectively, avoiding common mistakes and keeping surfaces looking like new over time.
Why correct cleaning of tiles matters
This material, one of the most innovative and high-performing in the world of ceramic surfaces, is famed for its durability, immaculate appearance and easy cleaning.
However, the wrong care procedures may damage its beauty. To avoid problems like stains or dullness, it’s essential to know what you should use to clean porcelain stoneware and which products are to be avoided.
The right procedures during installation, on completion of the construction project or during routine care of the material will guarantee protection and beauty over time, so your floor and wall coverings are always clean and impeccable.
Routine cleaning of stoneware floor tiles and ceramic wall tiles
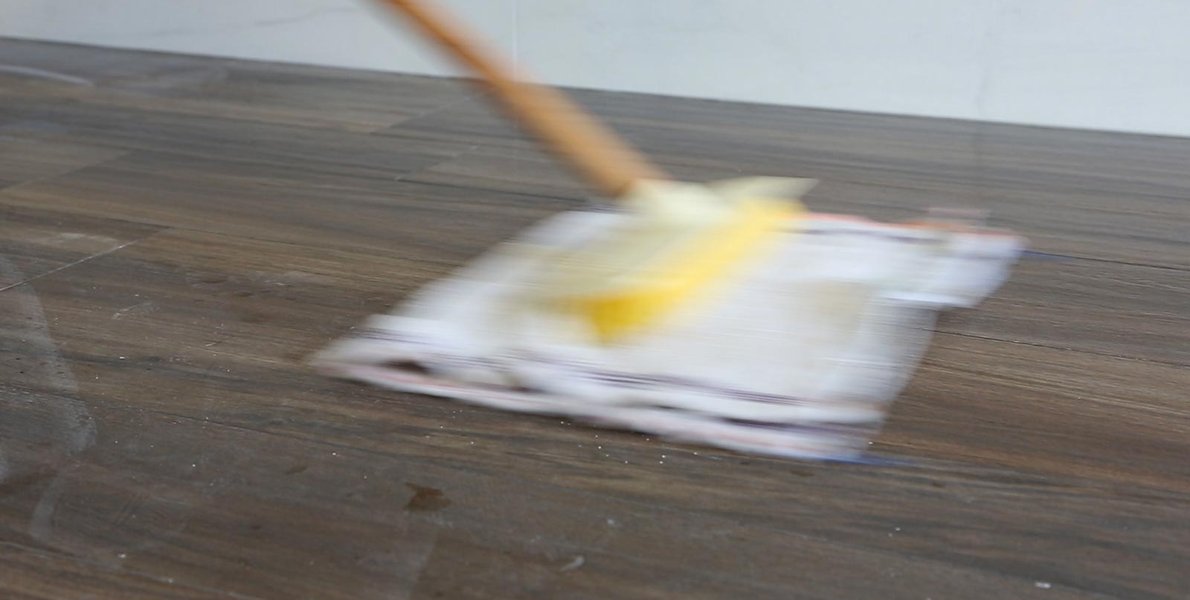
Cleaning porcelain stoneware is a straightforward task, thanks to the material’s practical and convenient nature. All you need for day-to-day cleaning is a soft cloth or a mop with a mix of hot water and a neutral detergent, readily available on the market.
To guarantee the ceramic material’s durability and beauty over time, it’s important to avoid a number of common cleaning errors, detailed below.
What not to use to clean porcelain stoneware: the most common mistakes
When cleaning porcelain stoneware it’s important to avoid products and tools that might harm its appearance and characteristics.
In general, don’t use waxes or oily products (they tend to create a superficial film that modifies the tile’s natural finish) or over-aggressive cleaners. Abrasive sponges and aids like metal scouring pads must also be ruled out, because they may scratch and damage the tile, impairing its beauty.
Choosing the right cleaning method for different types of stoneware tile surface
So how should you clean porcelain stoneware?
In general, there are no major differences in cleaning between different material effects. However, some minor changes may be required depending on the tiles’ surface.
Whether your stoneware is glossy, matt or structured, it’s fundamental to use the right methods and products to ensure effective cleaning without risking damage to the surface: all you need is a soft microfibre cloth and a mix of hot water and a neutral detergent.
Now let’s take a look at the different stoneware variants and how to clean them, one by one.
Glossy porcelain stoneware: avoiding smears and scratches
When cleaning glossy porcelain stoneware you have to take special care to avoid creating scratches and smears.
It’s fundamental never to use waxes, polishes or abrasive products, since they may leave permanent smears and reduce the surface’s shine. Glossy surfaces must not be treated with aggressive cleaners: gentle cleaning is better, to maintain their appearance intact.
Matt porcelain stoneware: products for maintaining its natural texture
Matt porcelain stoneware has a more natural, less reflective finish: here again, for routine cleaning you only need a solution of hot water and neutral detergent, applied with a soft cloth or brush.
Structured porcelain stoneware: cleaning relief patterns without leaving residues
Structured surfaces, of the kind often used outdoors or with antislip effects, require special cleaning, especially to remove the dirt and dust that may build up in their relief patterns.
The ideal solution is a brush that allows you to get into the cavities without damaging the surface.
Wood-effect stoneware: preserving the design without altering its color
Wood-effect stoneware is much easier to care for than parquet. To conserve its original beauty, just bear in mind that the use of waxes or polishes isn’t recommended, as they may alter the surface’s colour and texture.
What’s more, during installation it’s essential to thoroughly remove all excess grout, as residues may set in the tile’s natural veining and become difficult to remove later.
Cleaning during installation: attention to the joints
After tiles have been laid on the screed, the joints (i.e. the gaps between slabs) are grouted, usually with a grout in a matching shade.
This is a very important operation which the installer must carry out with great care, since if surplus grouting material is allowed to set and is not thoroughly removed before it dries completely, the floor covering will tend to become dirty more easily and routine cleaning will be more difficult. Therefore, the joints should be filled over an area of 4-5 square metres at a time, removing the excess grout from the surface (with a sponge and clean water) as soon as it starts to dry. Since in this phase the grout is still quite damp, the excess must be removed with light, repetitive movements in a diagonal direction, taking care not to “dig out” the joints while at the same time removing all residues from the slabs (especially if, like wood-effect slabs, they have a “natural” surface, which is not completely smooth).
This operation is fundamental for all tiles, but it’s even more essential for more structured materials, and for outdoor tiles, with rough, anti-slip surfaces.
If this simple cleaning process, using just water, isn’t carried out at the right time, small particles of the grout (which, obviously, is a form of adhesive) can stick permanently to the slab, leaving unsightly smears even after final cleaning.
Post-installation: cleaning on completion of the construction project
Another vital factor in the success of a floor or wall covering is post-installation cleaning: this is fundamental to remove residues of glue, cement-based grout and other materials left by the installation procedures. If not removed correctly, these residues may set on the porcelain stoneware’s surface, making routine cleaning more difficult and impairing tiles’ appearance.
For effective cleaning on completion of the construction project:
- Brush the floor thoroughly to remove construction debris and dust.
- Use controlled-pH acid cleaners specifically formulated to remove cement, grout or adhesive residues.
- Dilute the acid cleaner in water, taking care to follow the producer’s instructions precisely.
- Apply the product with a brush and leave to act for a few minutes, but not for longer than recommended on the pack.
- Rub the areas with the worst deposits by hand with an abrasive sponge or soft rag.
- Rinse with plenty of clean water to remove all product residues.
Special care has to be taken with the epoxy grouts used for some specific installation jobs. In this case it’s essential to use special cleaners and comply strictly with the producer’s instructions for the product’s preparation and application.
Usually an acid-based cleaner is recommended, diluted in water as appropriate for the type of surface for treatment. In all cases, to ensure you always achieve the very best results without damaging the stoneware, it’s a good idea to ask your dealer’s advice about all the specific procedures required.
Removing difficult stains
No guide on how to clean porcelain stoneware would be complete without a major section focusing only on stains.
When dealing with splashes or stubborn dirt, it’s vital to use specific cleaners for the type of stain. Here are some examples:
- Acid cleaner: limescale, rust stains, metal marks (caused by rubbing of iron, nickel or aluminium objects);
- Alkaline cleaner: beer, wine and coffee stains; animal or vegetable fats; rubber stains, marks left by heels of shoes; soluble ink, food colourings, shoe-polish; oils and lubricants.
Long-term care advice
Regular, correct cleaning is fundamental for conserving your porcelain stoneware floor over time. Regular cleaning with specific cleaners and soft-bristle brushes also helps to prevent the build-up of dirt and mould, keeping the floor impeccable in appearance and hygienic.